- Home
- >
- Knowledge Center
- >
- Blogs
Blogs
Sharing knowledge is key to an innovative and healthy industry! This knowledge center is therefore a central place on our website to share information. Read all about our industry in the blogs below!
2026 How to Nail Interlock for Perfect Results?
In the world of nail interlock, achieving perfect results is not just a goal; it’s an art. Renowned expert, Dr. Emily Chen, emphasizes, "Understanding the nuances of nail interlock can make all the difference." Each technique, tool, and product plays a vital role in creating flawless interlocks.
However, many professionals struggle with consistent outcomes. They often overlook the importance of precision and practice. In nail interlock, minor errors can lead to significant setbacks. It’s essential to focus on the details. Choosing the right materials and understanding their properties can vastly improve results.
Each nail interlock session presents unique challenges that require reflection and adjustment. Mistakes can lead to frustration, but they also offer valuable learning opportunities. Achieving nail interlock perfection is a journey, and embracing imperfections can pave the way for growth and improvement.
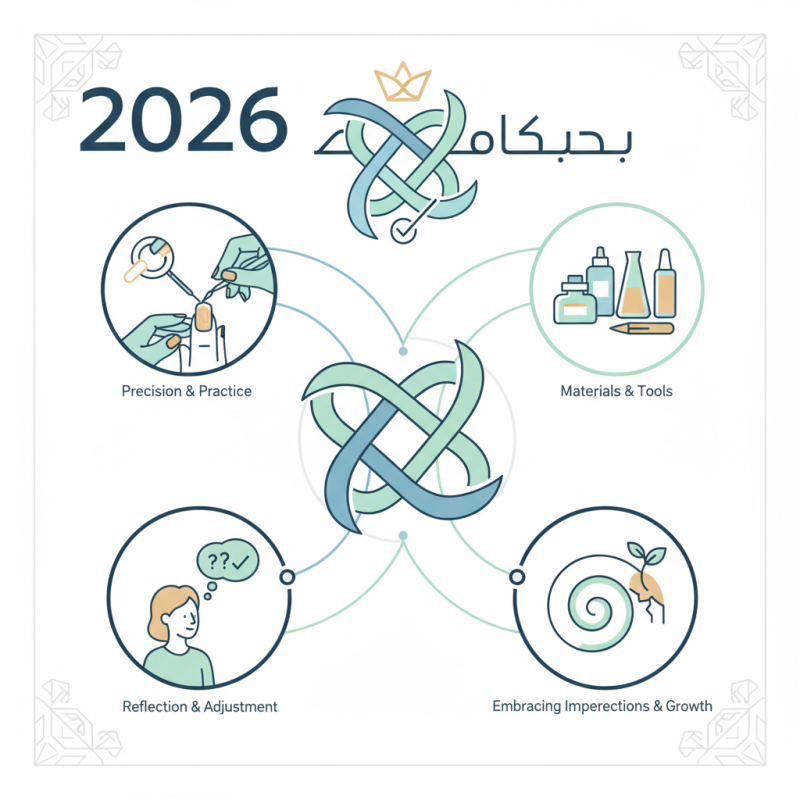
Understanding Interlock Technique: Definition and Importance
Interlock technique is crucial in various fields, especially in crafting and design. It ensures that pieces fit together seamlessly. Understanding this technique can elevate your work to professional standards. The accuracy of placement is key. Without proper alignment, even the best materials can look unpolished.
When applying the interlock technique, precision matters. Incorrect measurements can lead to gaps and misalignment. Take your time measuring each component. Small mistakes can have significant impacts. Always double-check your work before proceeding. This creates a solid foundation for aesthetics and functionality.
Tips: Practice is essential. The more you engage with the technique, the more instinctive it becomes. Use templates for consistency. Experiment with different materials to see what works best. Always be open to feedback. Reflecting on critiques can lead to improved results. Embrace the learning curve, because perfection takes time.
Essential Tools and Materials for Perfect Interlock Results
When aiming for perfect interlock results, having the right tools and materials is crucial. Start with a quality interlocking template. This helps ensure consistent spacing and alignment. Use a sharp cutting tool to accurately trim your materials. A good adhesive is equally important for securing your pieces. Select one that's suitable for your specific materials.
Don’t overlook basic materials. Always have a measuring tape, level, and safety gear on hand. These items can significantly affect the final outcome. It's easy to make mistakes with misaligned pieces. Remember, precision is key.
Tips: Check the level of your workspace. A slanted surface can lead to uneven interlocks. Also, take time to plan your design. Rushing can cause you to overlook important details.
Reflect on your previous attempts. Improving from past mistakes is an essential part of the process. Keep your materials organized to avoid confusion during assembly.
Step-by-Step Guide to Executing Interlock Properly
Executing interlock properly requires attention to detail. Start with clean, dry hair. Use a rat-tail comb to section the hair. Aim for even divisions. This helps in achieving a consistent look. As you work, maintain a steady hand. This can be nerve-wracking, especially for beginners.
Tips: Practice makes perfect. Try interlocking on a small section first. Don’t rush the process. Take your time. If something doesn’t feel right, pause. Reflect on your technique. Interlock the hair tightly but not painfully. Tension is essential, but comfort is key.
Remember that mistakes happen. You might miss a section or create uneven tension. Don't be discouraged. Learn from each attempt. Adjust your approach based on your observations. Observing your work critically is key to improving. The more you practice, the better your results will be. Interlock is an art, and mastering it may take time.
2026 Interlock Performance Metrics
Common Mistakes to Avoid When Mastering Interlock
Interlock techniques can be challenging to master. Many beginners make common mistakes. These errors often lead to less than perfect results. Understanding these pitfalls is essential for improvement. One of the most frequent issues is improper tension. If your tension is too tight or too loose, the interlock will not hold. This creates a lack of structure in your work.
Another mistake is neglecting to secure the ends. Failing to fasten the edges properly can cause unraveling. This not only affects the appearance but also weakens the entire piece. Pay close attention to detail here. Additionally, using incompatible materials can lead to frustration. Different textures and weights can clash, ruining your final product.
Time management is a critical aspect too. Rushing through the process invites errors. Take your time to plan and execute each step meticulously. Reflect on any mistakes you make. They offer valuable lessons for future projects. A take-it-slow approach can yield better results, transforming your interlock work into a masterpiece.
Tips and Tricks for Achieving Consistent Interlock Quality
Achieving consistent interlock quality requires attention and practice. One common mistake is not preparing the material properly. Ensure the surface is clean and flat. This makes a significant difference in the final outcome. Use a reliable measuring tool to verify dimensions before starting. Small discrepancies can lead to larger issues later.
Timing is crucial in the interlock process. Rushing can result in misalignment or even waste. Allow enough time for each layer to set before adding the next one. Pay close attention to temperature and humidity. These factors can affect how materials bond. If the weather is too humid, the adhesive may not set properly.
Sometimes, even with careful planning, the results may not be perfect. Don’t be discouraged by imperfections. Each attempt is a learning opportunity. Reflect on what went wrong. Maybe it was the wrong amount of adhesive or incorrect pressure. Take notes on each process. This will help identify patterns in your work and guide improvements.
2026 How to Nail Interlock for Perfect Results? - Tips and Tricks for Achieving Consistent Interlock Quality
| Technique | Description | Tip for Success | Common Mistakes |
|---|---|---|---|
| Proper Tension | Ensure the interlock is neither too tight nor too loose. | Use a consistency gauge to monitor tension. | Over-tightening can lead to material damage. |
| Alignment | Align pieces perfectly before locking them together. | Use alignment tools to ensure precision. | Misalignment can cause weak joints. |
| Material Selection | Choose compatible materials for interlocking. | Check the manufacturer's guidelines for compatibilities. | Using incompatible materials can weaken the structure. |
| Surface Preparation | Clean and smooth surfaces before interlocking. | Use sandpaper or cleaning agents as needed. | Dirty or rough surfaces can prevent a secure fit. |
| Testing | Perform strength tests after interlocking. | Use a load tester to check integrity. | Skipping tests can lead to undetected flaws. |